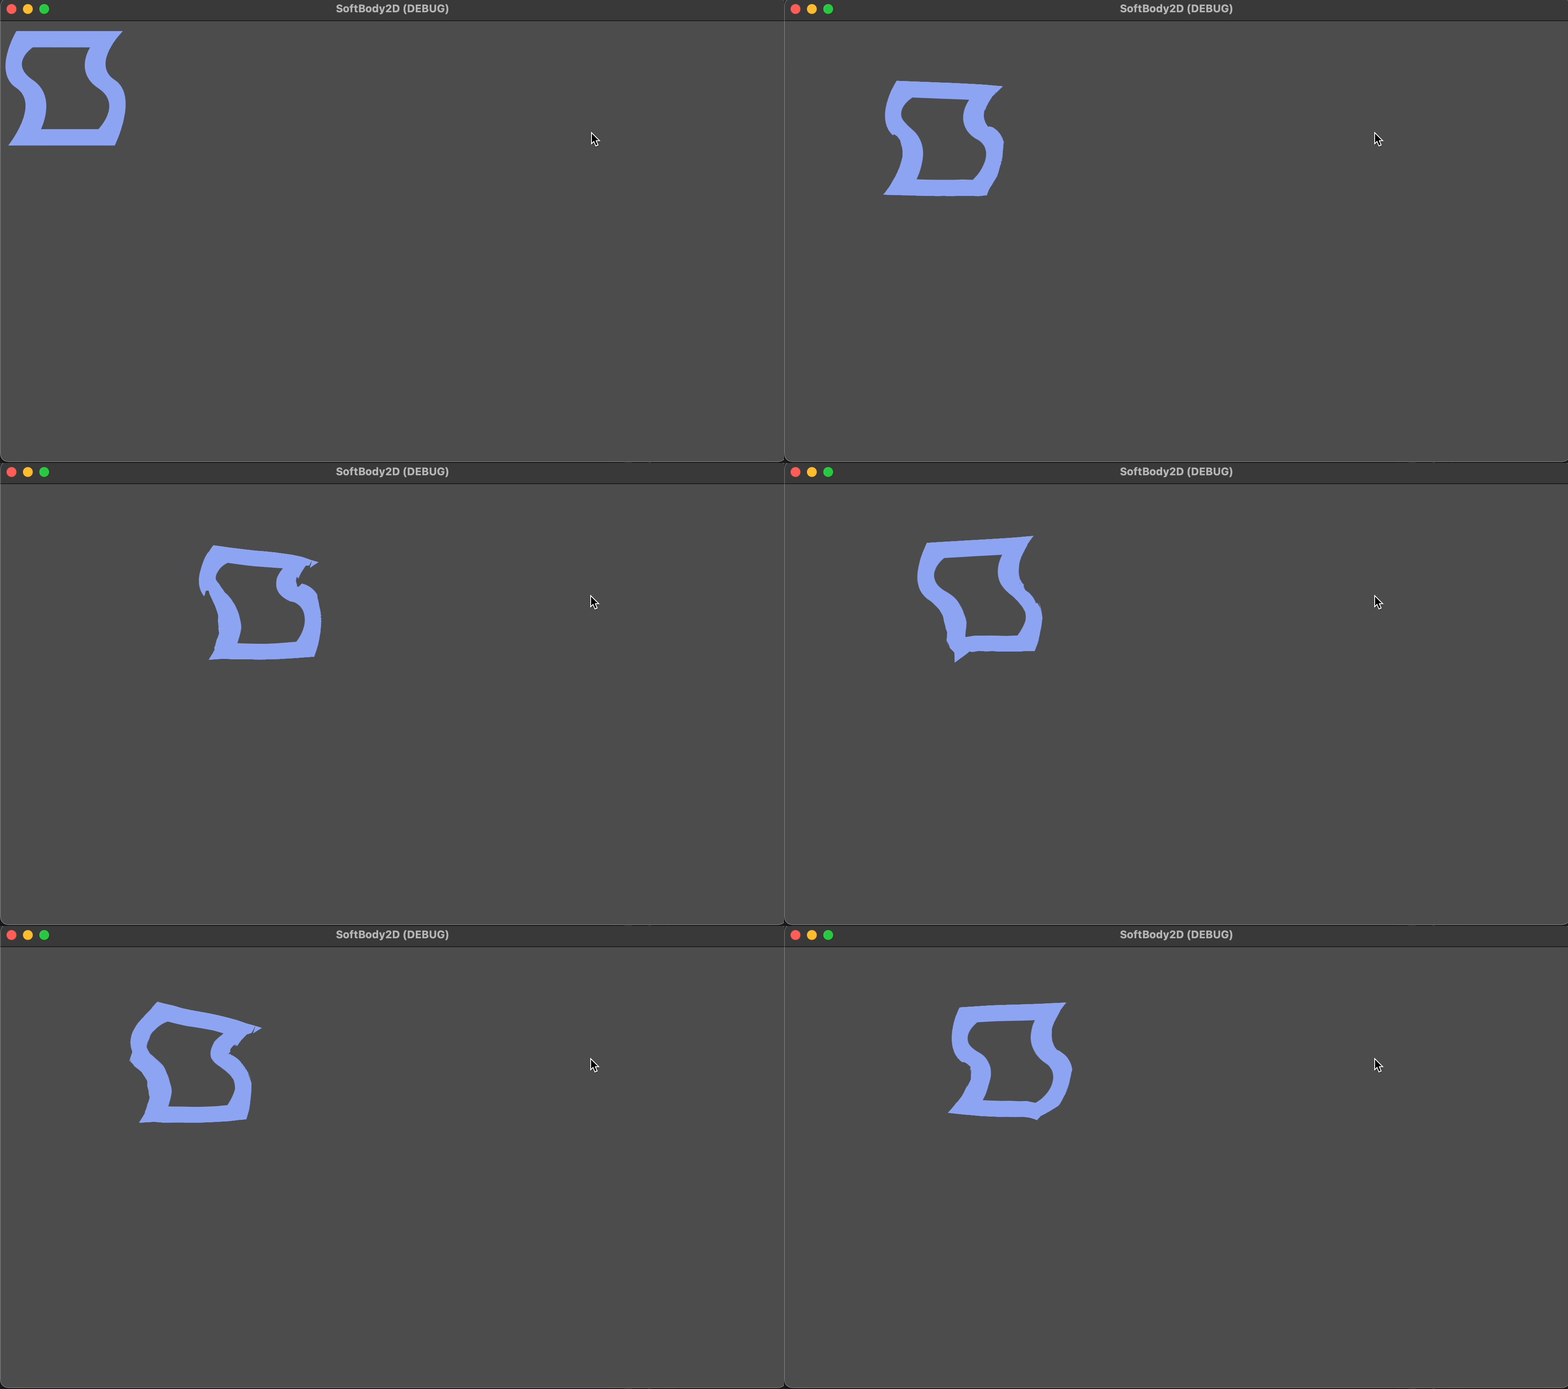
Move a Softbody
In order to move the Softbody by keys, you can attach it to a CharacterBody2D node. This tutorial is also available in the GitHub repo as a sample samples/softbody2d/attach-to-character-controller.
Create a new SoftBody2D node
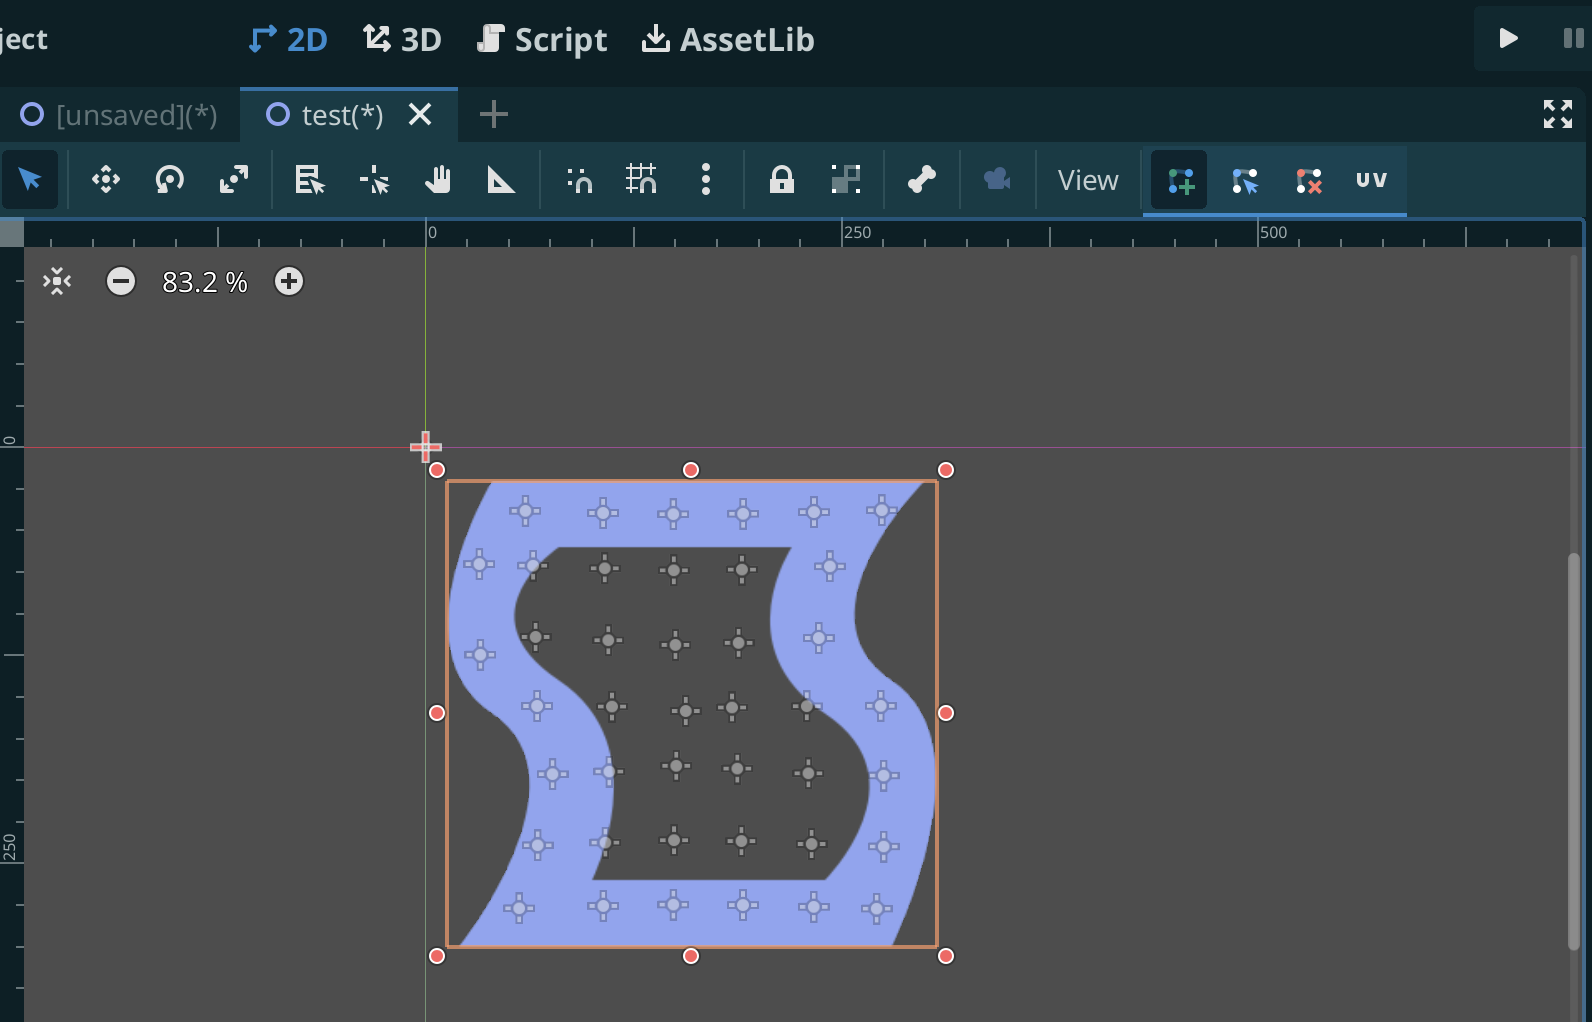
Similar as previous tutorial, create a Softbody and add the texture addons/softbody2d/softbody2d.svg to it. You should see in the 2D scene view the following:
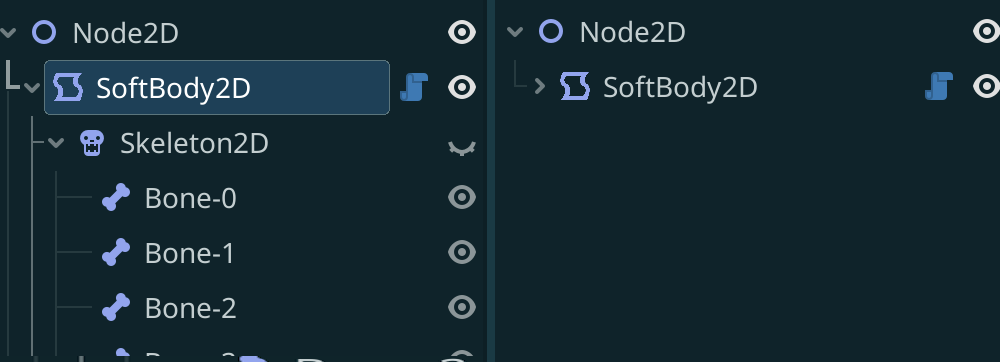
In the Scene tab you can minimise the children of the SoftBody2D node by clicking the arrow button next to the node:
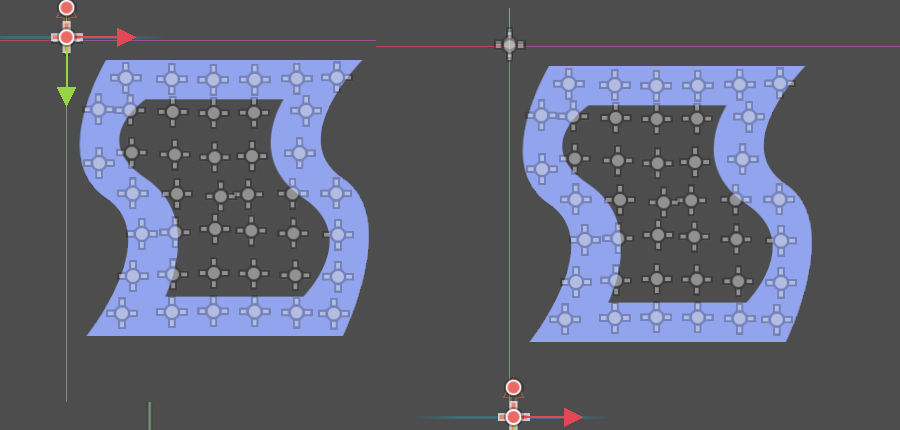
Create a World Boundary
Create a RigidBody2D and add as child a CollisionShape2D with Shape set to WorldBoundaryShape2D and move it below the Softbody:
Create a CharacterBody2D node
Create a CharacterBody2D node. Add as a child to it a CollisionShape2D node with Shape set to CapsuleShape2D:
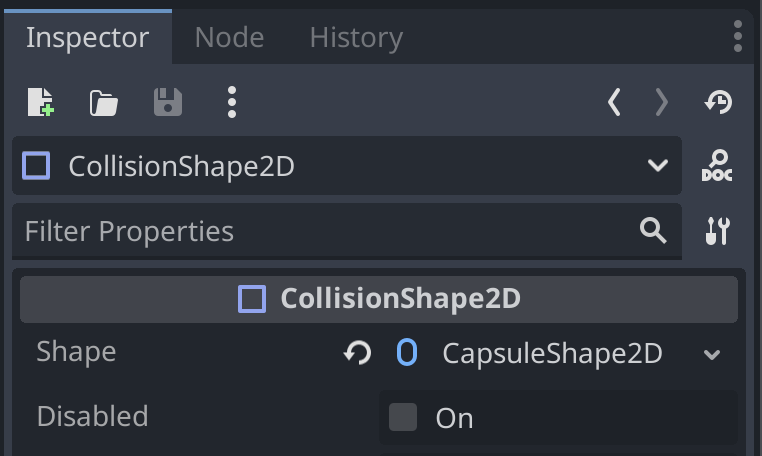
Move it to the center of the softbody
Next, select the CharacterBody2D node in the Scene View:
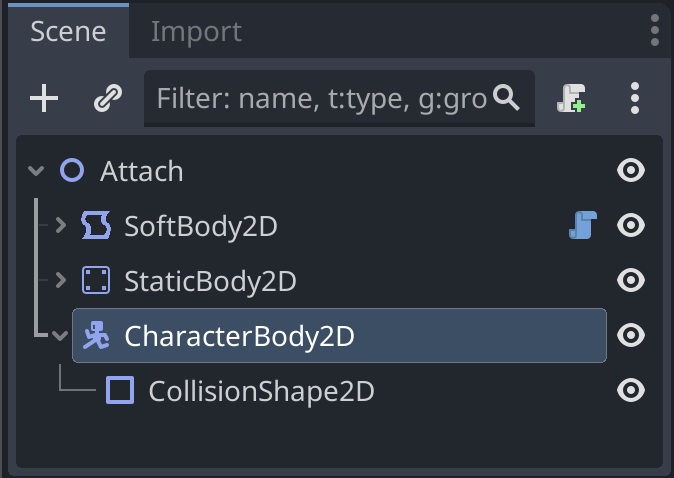
and move it in the center of the SoftBody2D node (select Move Tool in order to move it):
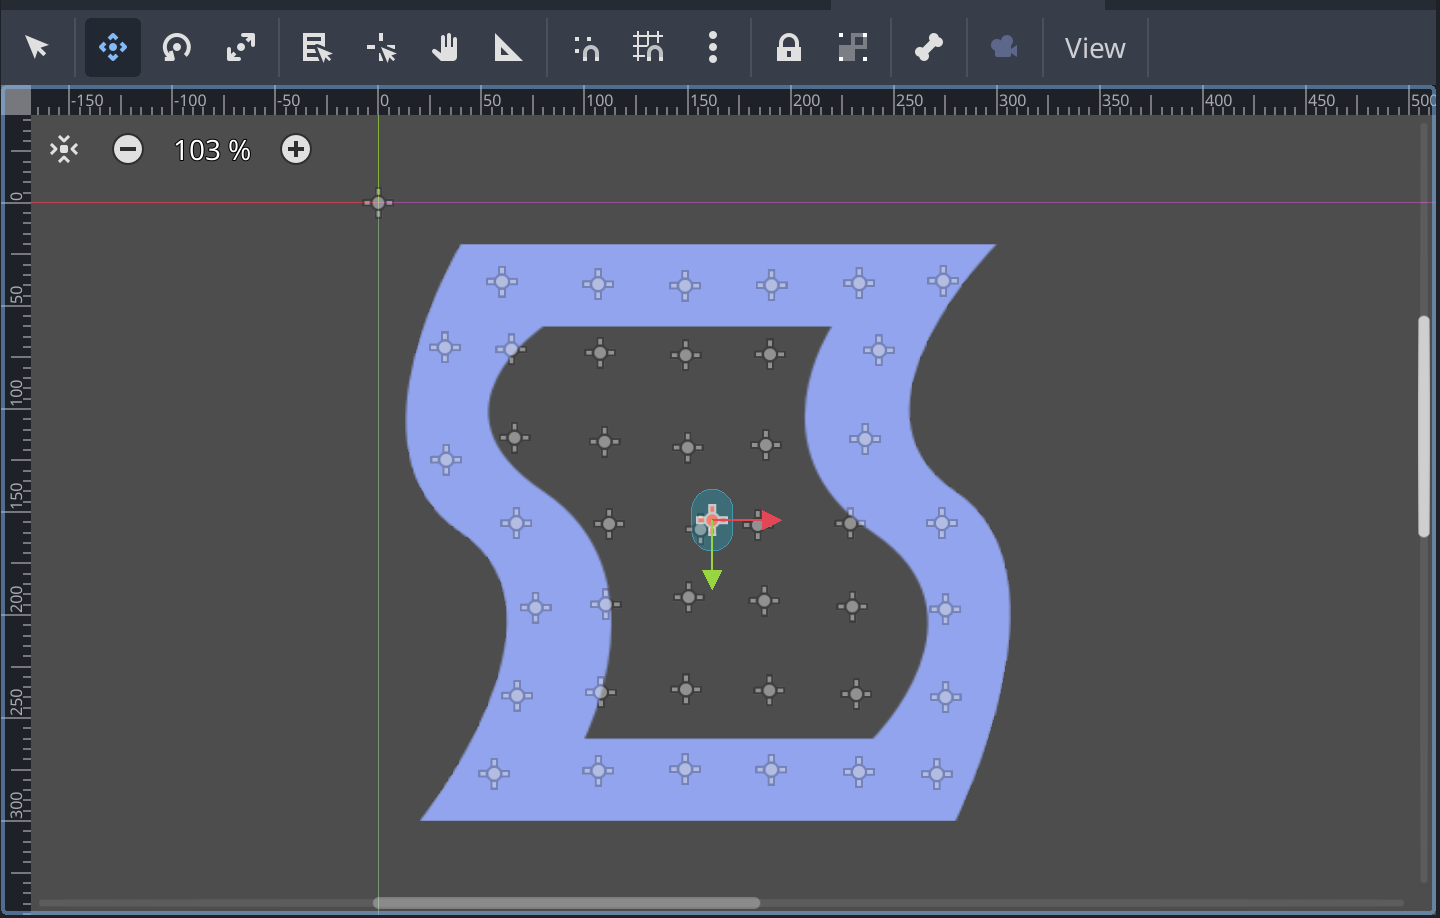
In case you see in the Softbody node the Shapes, uncheck the Show Shapes option.
Resize it to the size of the softbody
Next, resize the CollisionShape2D of the CharacterBody2D node to have about the same size as the SoftBody2D node:
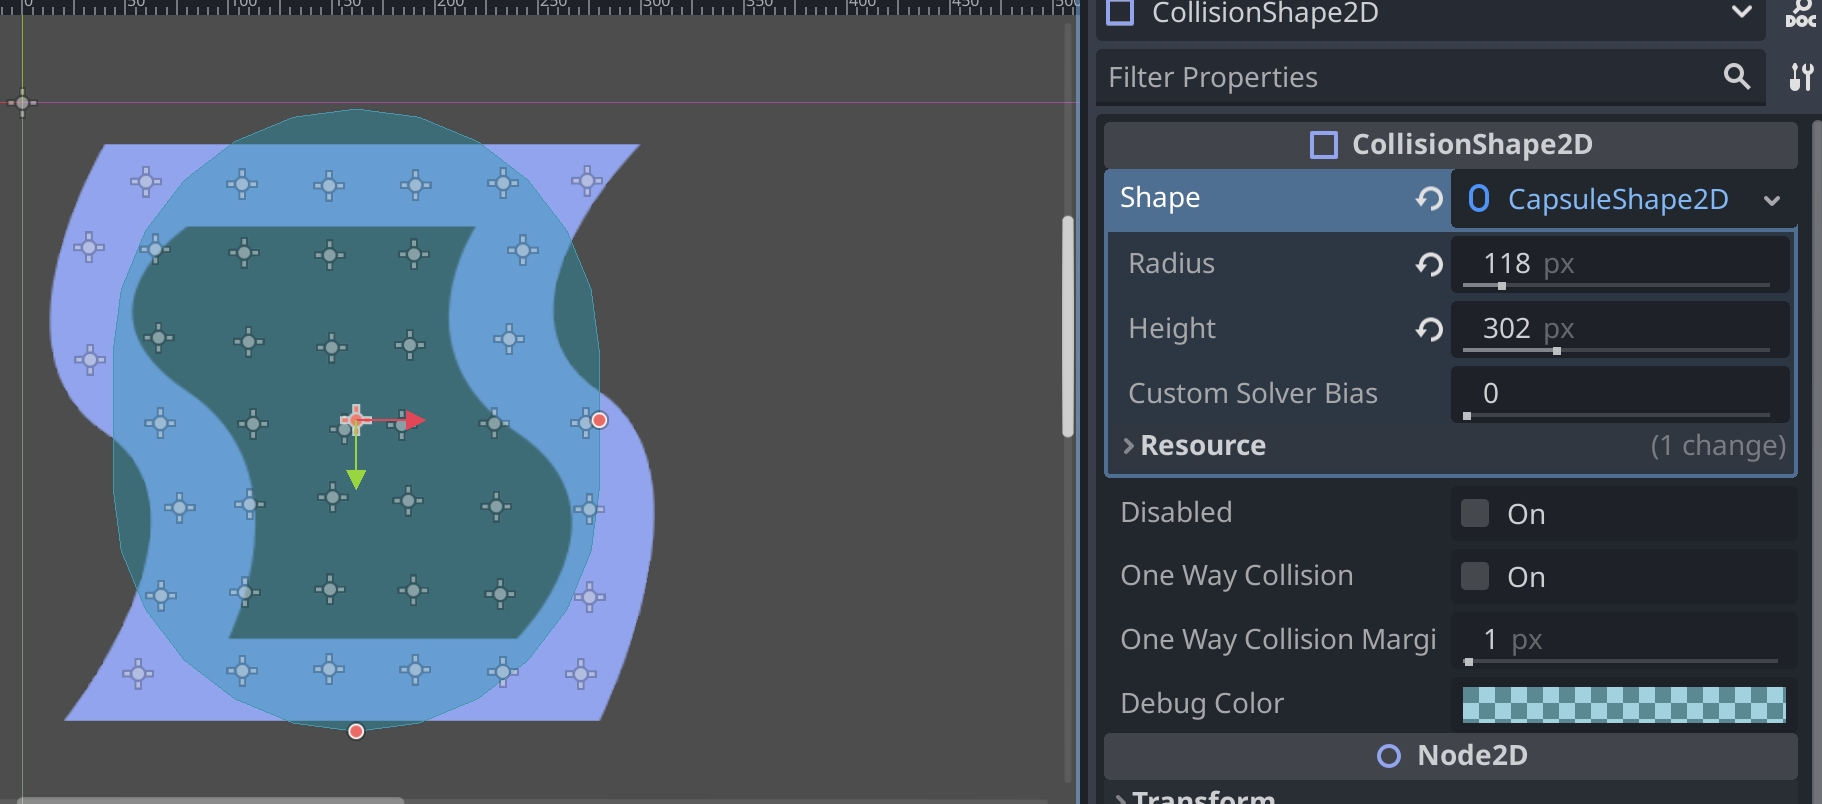
In my case I used Radius 118 and Height 302.
Make the CharacterBody2D not interact with SoftBody2D
If we would run the scene now, the CharacterBody2D would interact with the SoftBody2D. We don't want this as we want the CharacterBody2D to move the SoftBody2D but not interact with it. We also want the StaticBody2D to interact with both.
Select the StaticBody2D and go to:
- Collision/Layer: Set it to both Layer 1 and Layer 2
- Collision/Mask: Set it to both Layer 1 and Layer 2
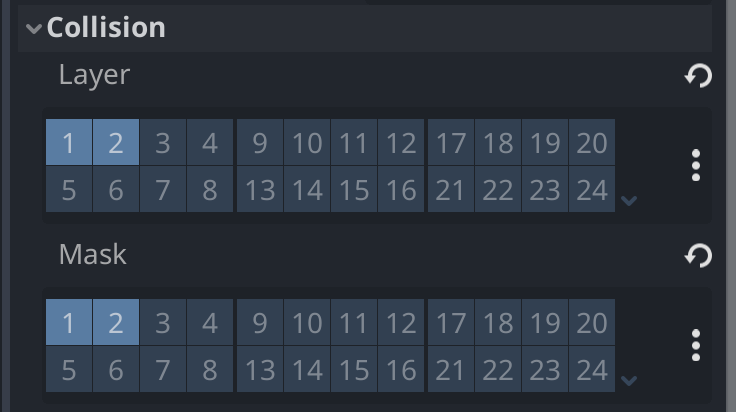
Select the CharacterBody2D and go to:
- Collision/Layer: Set it to only Layer 2 (Layer 1 deselected)
- Collision/Mask: Set it to only Layer 2 (Layer 1 deselected)
Now, the CharacterBody2D will no longer interact with the SoftBody2D.
Make the CharacterBody2D movable
Select the CharacterBody2D, go to Script, select New Script. For template select CharacterBody2D:: Basic Movement and click Create:
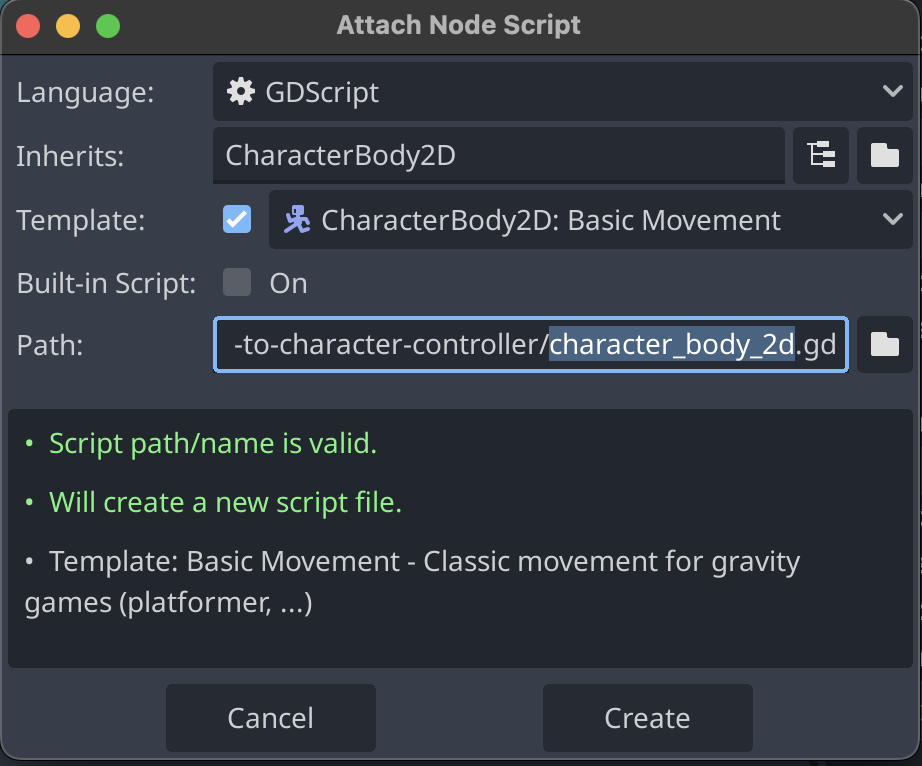
If you run the scene now you should be able to move the CharacterBody2D with arrow keys.
Connect the CharacterBody2D and the SoftBody2D by two joint
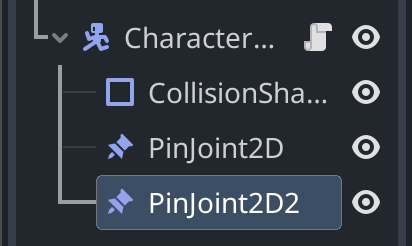
Next, create two PinJoint2D children of the CharacterBody2D:
Move the first PinJoint2D to the leftmost middle rigidbody of the softbody:
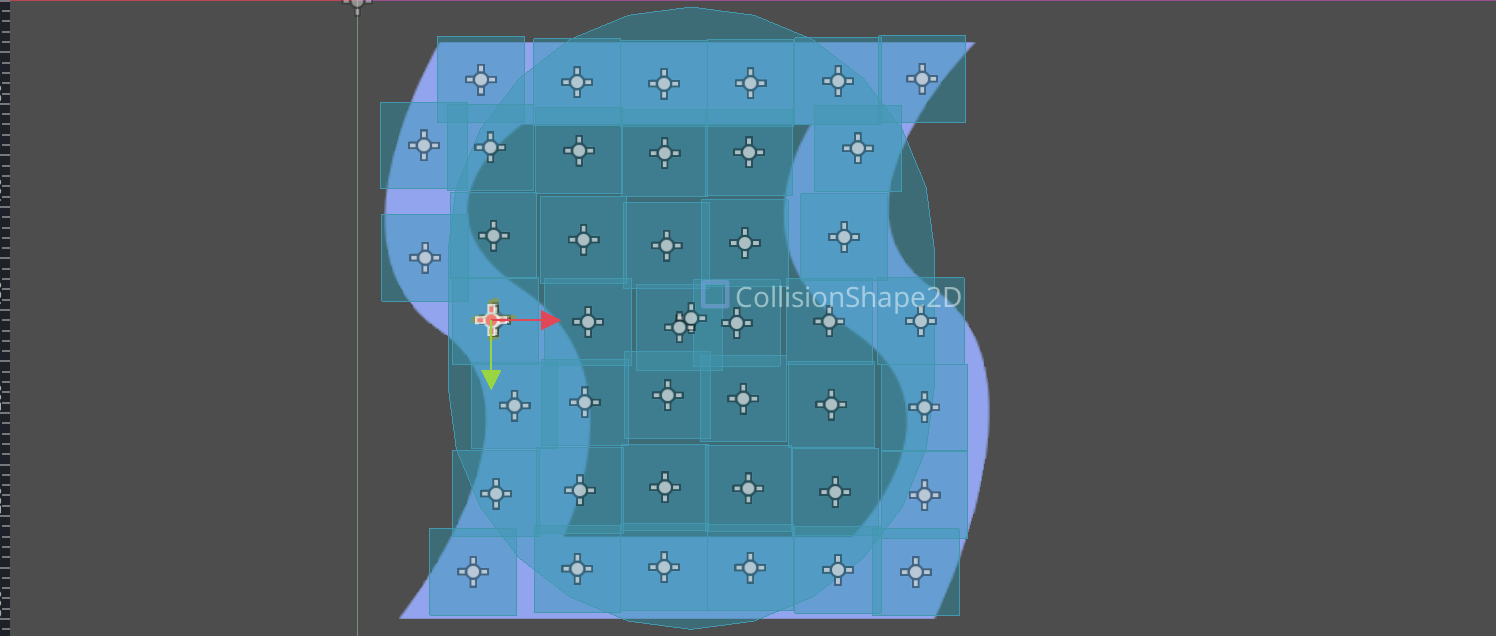
Move the second PinJoint2D to the rightmost middle rigidbody of the softbody:
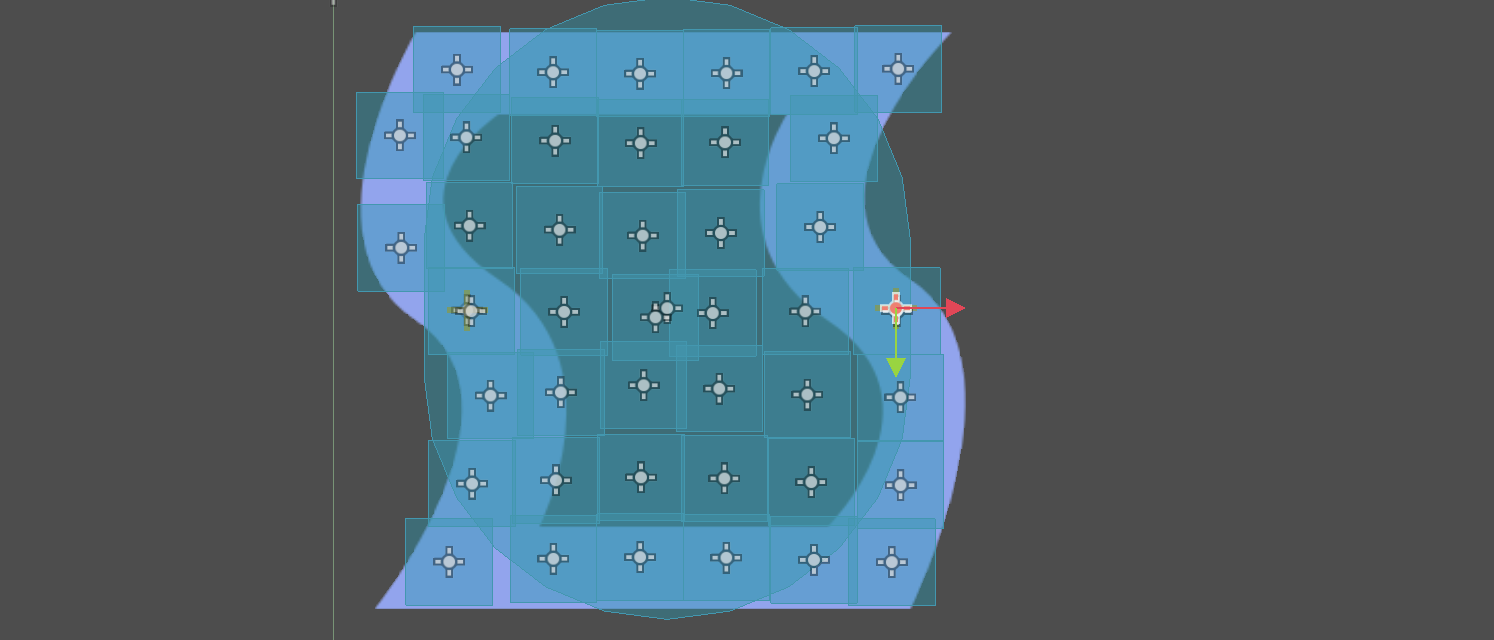
Select the first PinJoint2D created and for Node A put the CharacterBody2D node. For Node B put the Rigidbody of the Softbody that it overlaps with.
In order to view the name of that Rigidbody, simply hover your mouse over it and the name will appear:
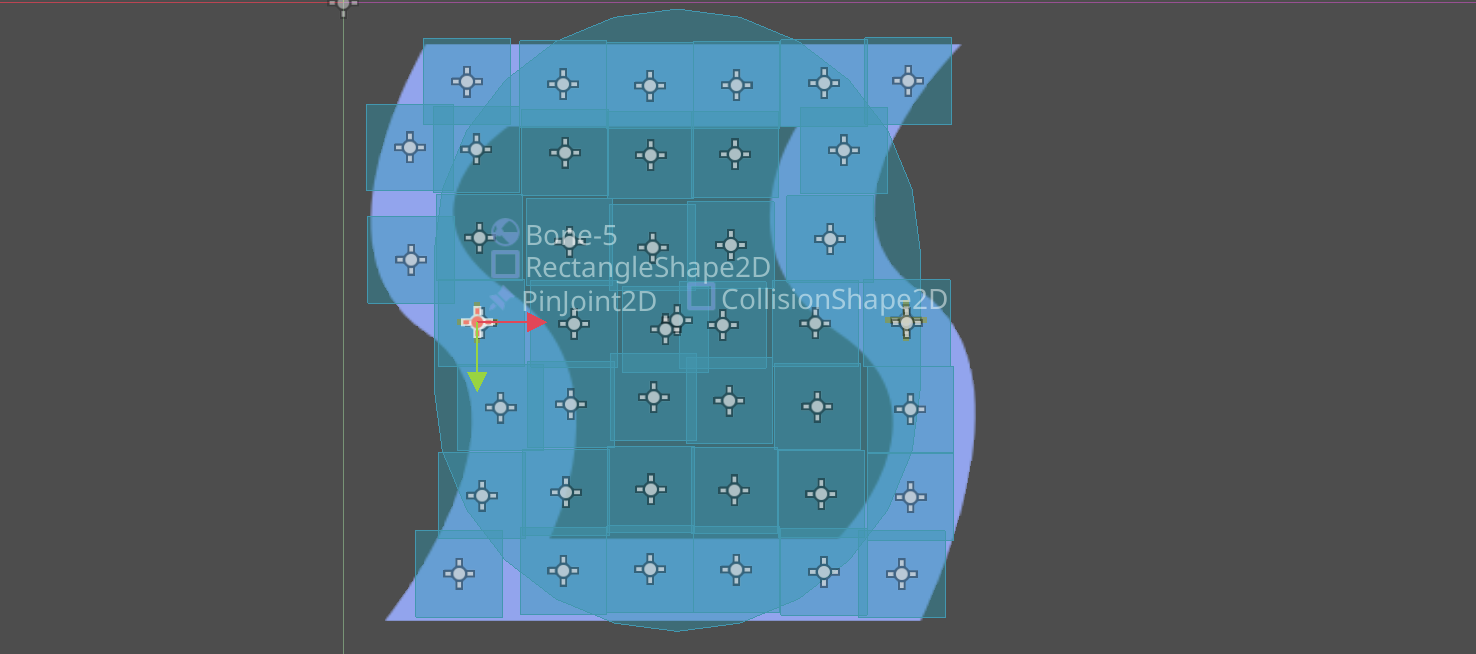
Also, hiding other nodes that are in the same place helps, like hiding the CharacterBody2D node.
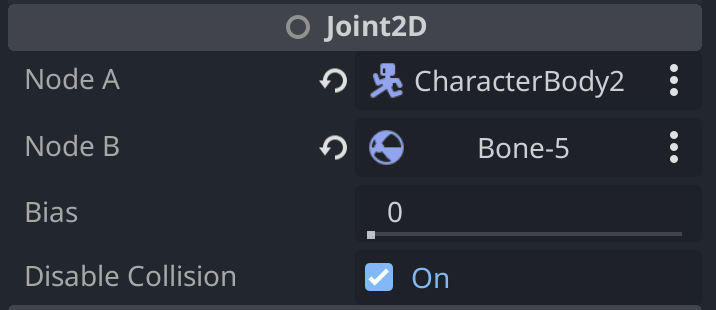
In my case, the Rigidbody was called Bone5. The first PinJoint2D configured should look like this:
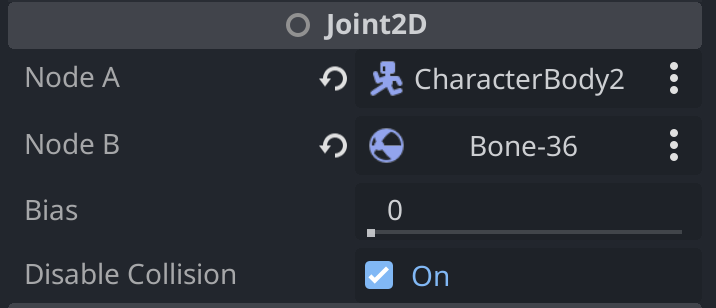
The second PinJoint2D configured should look like this:
Try it out
Click the Run Current Scene button. If you did everything right, you will see the following:
